

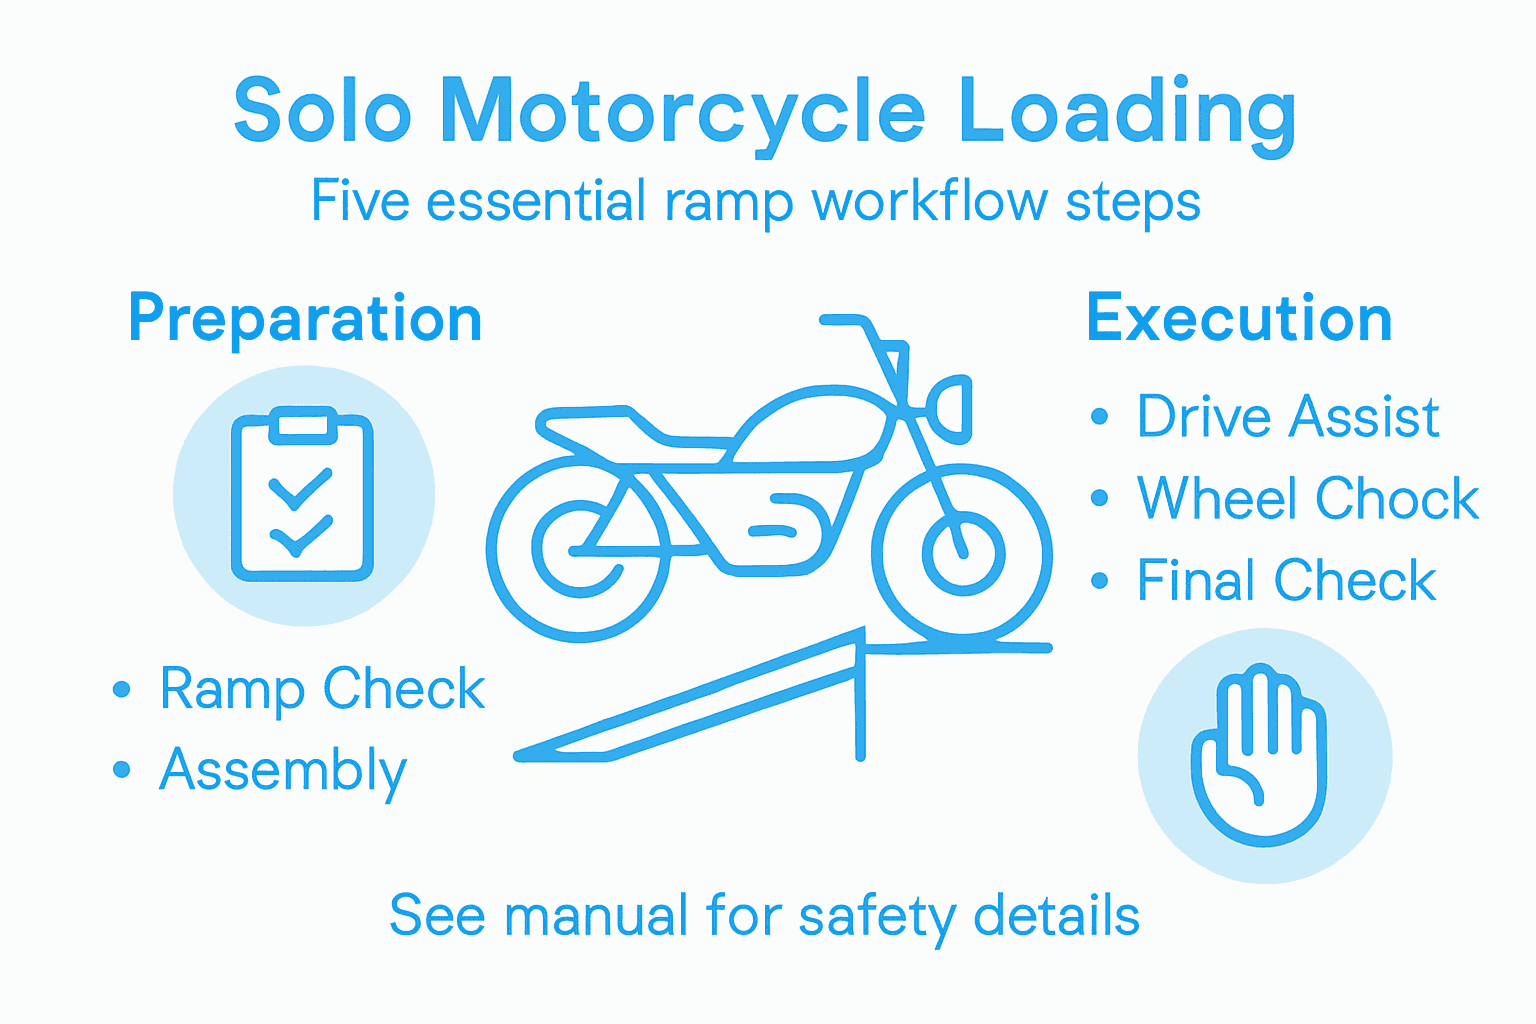
Master the motorcycle ramp usage workflow with this step-by-step guide. Achieve safe, efficient solo loading and proper verification for bikes under 300kg.
Most American-style motorcycle transport setups struggle with solo loading, yet more than 60 percent of European riders still rely on basic ramps without extra safety measures. As costs climb and efficiency matters, European operators and hobbyists want solutions that offer trusted security without a premium price tag. This guide explains how patented ramp technology transforms solo motorcycle loading for bikes under 300kg, using simple steps any budget-conscious rider can master.
Table of Contents
- Step 1: Secure The Ramp To Vehicle Hitch For Stability
- Step 2: Position The 1.9m Base And Connect The Extender
- Step 3: Engage The Mechanical Drive With Stop-and-Hold
- Step 4: Align The Front Wheel Chock And Manage Center Of Gravity
- Step 5: Verify Safe Placement And Unload Controls
Quick Summary
| Important Takeaway | Explanation |
|---|---|
| 1. Secure ramp to vehicle hitch | Always anchor your ramp firmly to prevent dangerous movement during loading. Use heavy-duty straps or chains for stability. |
| 2. Check angle for smooth transition | Ensure the ramp’s incline allows easy movement; avoid steep angles to maintain control and safety. |
| 3. Utilize Stop-and-Hold feature | Engage the mechanical drive for precise control during loading, allowing for safe pauses and adjustments. |
| 4. Center front wheel in chock | Position the motorcycle’s front wheel snugly in the chock to stabilize and prevent tipping during loading. |
| 5. Perform full safety inspection | Always inspect ramp connections and motorcycle positioning before unloading to ensure safety and control. |
Step 1: Secure the ramp to vehicle hitch for stability
Stabilizing your motorcycle loading ramp is the most critical first step to ensure a safe solo loading experience. A properly anchored ramp prevents dangerous movement that could compromise your motorcycle and personal safety during transport.
Begin by positioning your ramp directly behind the vehicle’s hitch, ensuring it aligns perfectly with the truck bed or trailer surface. Motorcycle ramp stability depends on creating a robust connection using heavy-duty straps or chains. Wrap these anchoring mechanisms around the ramp’s base and securely attach them to the vehicle’s designated mounting points, creating a rigid, immovable connection that eliminates potential slip or kick-out risks.
Check the ramp’s angle and ensure it creates a smooth transition from ground to vehicle platform. The ideal loading approach minimizes steepness while maintaining enough incline for controlled movement. Verify that all connection points are tight, with no wiggle room that could introduce instability during loading.
Professional Tip: Always perform a manual stability test by applying gentle pressure to the ramp before attempting to load your motorcycle, confirming its secure positioning and structural integrity.
Step 2: Position the 1.9m base and connect the extender
Preparing the Alien Ramp for motorcycle loading requires careful positioning and secure connection of the base and extender components. This step transforms your loading setup into a precision engineered platform capable of handling bikes with varying heights and weights.
Start by laying out the 1.9m base platform on a flat surface, ensuring it is completely level and free from any debris or obstacles. The base should create a stable foundation that can support the entire weight of your motorcycle during loading. When connecting the 0.7m extender, align the attachment points precisely and engage the mechanical locking mechanism. Look for the color coded connection points that indicate proper orientation and ensure a tight interlocking system that eliminates any potential movement or wiggle.
Verify the total ramp length and angle by gradually extending the components. The goal is to create a smooth transition from ground to vehicle platform with a gentle incline that allows controlled movement. Test the connection points by applying gentle pressure to confirm the extender is securely fastened and can support the anticipated load without flexing or shifting.
Professional Tip: Always perform a dry run of the ramp assembly before actual motorcycle loading to familiarize yourself with the connection mechanism and validate the structural integrity of the setup.
Step 3: Engage the mechanical drive with Stop-and-Hold
The Stop-and-Hold mechanical drive mechanism represents a critical safety feature that provides precise control during motorcycle loading. This innovative system allows you to pause and stabilize your motorcycle at any point during the loading process without compromising your balance or the bike’s position.
To activate the mechanical drive, locate the integrated drill adapter on the ramp’s side. Insert a standard cordless drill with sufficient torque into the adapter socket. Ensure the drill is fully charged and set to a moderate speed setting that allows controlled movement. As you begin pushing or riding the motorcycle up the ramp, the mechanical drive will assist your forward momentum while maintaining a consistent speed that prevents sudden jerking or unexpected shifts.
The Stop-and-Hold feature becomes particularly valuable when navigating challenging loading angles or dealing with uneven surfaces. By releasing the drill trigger, you can instantly freeze the ramp’s position without manual intervention. This provides crucial moments to readjust your motorcycle’s alignment, regain balance, or pause if you encounter any unexpected obstacles during the loading sequence.
Professional Tip: Practice engaging and disengaging the mechanical drive with an unloaded ramp first to build muscle memory and understand the precise movement required for smooth operation.
Below is a comparison of manual versus mechanical drive loading methods:
| Feature | Manual Loading | Mechanical Drive Assist |
|---|---|---|
| User Strength Needed | High | Moderate |
| Risk of Sudden Movement | Higher | Lower (Stop-and-Hold) |
| Speed Control | Fully manual | Drill-adjustable |
| Learning Curve | Basic | Moderate, needs practice |
Step 4: Align the front wheel chock and manage center of gravity
Managing your motorcycle’s stability during loading requires precise front wheel positioning and strategic center of gravity control. Front wheel chock stabilization is crucial for preventing unexpected lateral movements and ensuring a secure transport configuration.
Begin by carefully positioning the wheel chock to match your motorcycle’s specific tire width and diameter. Gently roll the front wheel into the chock, making sure it sits snugly and centered. The goal is to create a vertical alignment that locks the wheel securely while distributing the motorcycle’s weight evenly. Pay close attention to the wheel’s positioning relative to the ramp’s centerline. Slight misalignments can create dangerous tipping points that compromise your loading safety.
Carefully adjust your motorcycle’s weight distribution by making small incremental movements. Your objective is to find the precise balance point where the bike feels stable and centered. This typically means positioning the motorcycle so that its center of gravity falls directly over the wheel chock. Minor adjustments might require shifting the bike slightly forward or backward to achieve optimal weight distribution and prevent potential tipping during the loading process.
Professional Tip: Use your body weight strategically by maintaining light contact with the motorcycle during initial positioning to feel and correct any balance irregularities.
Here’s a summary of key considerations when choosing ramp and motorcycle securement methods:
| Aspect | Ramp Anchoring | Wheel Chock Alignment | Mechanical Drive Engagement |
|---|---|---|---|
| Main Purpose | Prevent ramp movement | Stabilize front wheel | Control loading speed |
| Equipment Needed | Straps or chains | Adjustable wheel chock | Cordless drill, adapter |
| Critical Checkpoint | Tight connections | Centered, snug fit | Responsive pause feature |
| Common Mistake | Loose or missing straps | Wheel off-center | Drill set too fast |
Step 5: Verify safe placement and unload controls
The final stage of motorcycle loading involves a comprehensive safety check to ensure secure transport and prepare for a controlled unloading process. Motorcycle unloading safety protocols demand meticulous attention to detail before releasing the motorcycle from its secured position.
Begin by systematically inspecting the ramp connections, wheel chock alignment, and overall motorcycle positioning. Check that all straps are tightened, the front wheel remains securely seated in the chock, and the motorcycle stands perfectly vertical without any noticeable lean. Test the motorcycle’s brake responsiveness by gently applying both front and rear brakes. Ensure your body positioning allows maximum control typically from the left side where natural leverage provides the most stability.
Prepare for unloading by visualizing a smooth descent path. Clear the surrounding area of any potential obstacles and mentally map your movement trajectory. When ready to unload, maintain a slow and steady pace while keeping your weight balanced and controlling the motorcycle with gentle brake application. The goal is a smooth controlled descent that minimizes sudden movements or potential tipping risks during the transition from ramp to ground.
Professional Tip: Perform a full walk around inspection immediately before unloading to identify any last minute potential issues that might compromise your safety.
Experience Safe Solo Motorcycle Loading With Alien Ramp
Mastering the complex workflow of motorcycle ramp usage means overcoming challenges like ramp stability, mechanical drive control, and precise wheel chock alignment. You deserve a reliable system that simplifies these steps while ensuring your safety every time you load solo. Alien Ramp offers a high-utility, engineered 300kg capacity loading system designed with the patented One-Man Loading System™ technology powered by a cordless drill to provide smooth, controlled loading that matches the article’s detailed safety recommendations.
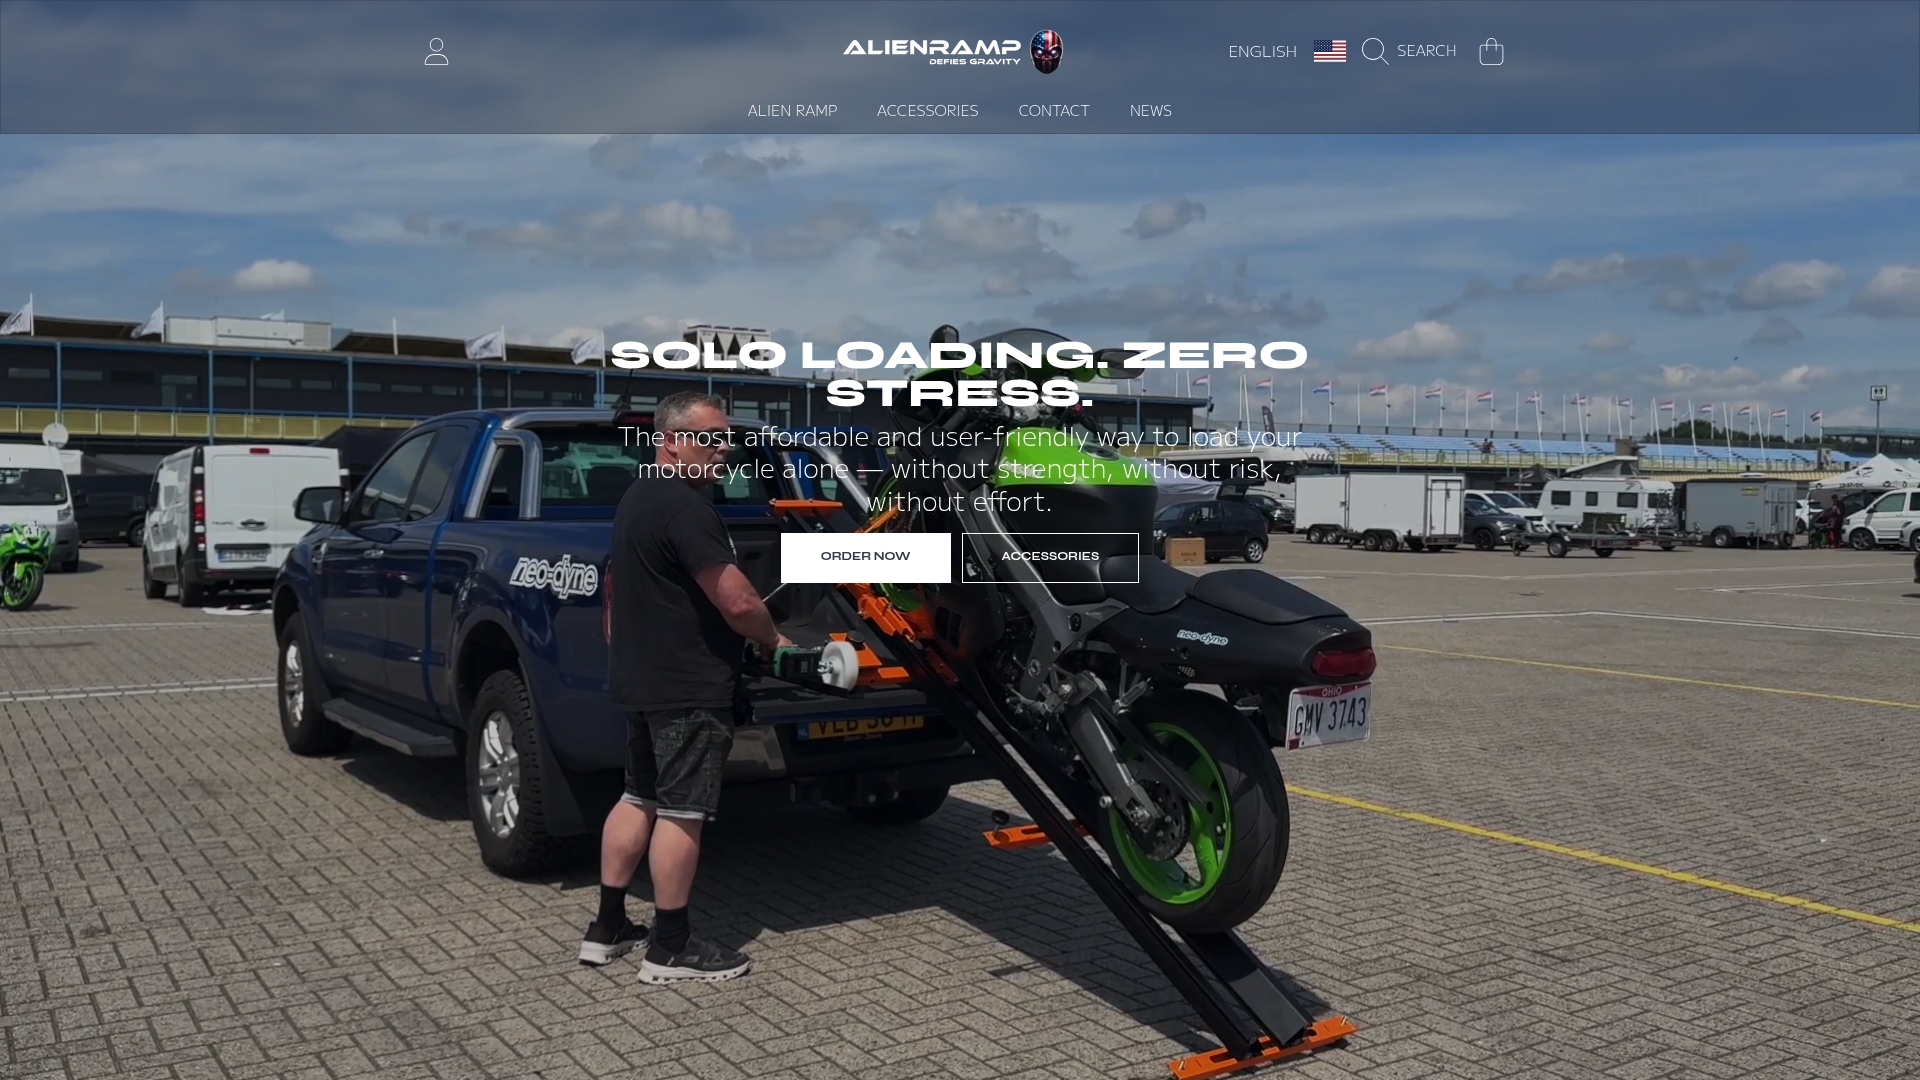
Discover our range of Self-Loading Ramps – Alien Ramp that deliver the right balance of strength and affordability for safe, efficient loading. Backed by aerospace-grade materials and precision engineering, our ramps reduce physical strain and risk during your loading process. Explore our Alien Ramp Accessories for added securement and convenience. Take control of your solo loading workflow now by visiting Alien Ramp and equip yourself with the best tools engineered for your peace of mind.
Frequently Asked Questions
How do I secure my motorcycle ramp to ensure it is stable during loading?
To secure your motorcycle ramp, position it directly behind the vehicle’s hitch and use heavy-duty straps or chains to anchor it. Wrap these around the base of the ramp and attach them to designated mounting points on your vehicle for a sturdy connection that prevents movement.
What should I check before loading my motorcycle onto the ramp?
Before loading, check that the ramp angle is smooth and that all connection points are tight. Perform a manual stability test by applying gentle pressure to the ramp to confirm it is securely positioned and stable.
How do I properly use the mechanical drive feature while loading?
Activate the mechanical drive by inserting a cordless drill into the adapter on the ramp’s side. Adjust the speed to a moderate setting and use it to assist your loading, allowing you to pause the ramp’s position easily by releasing the drill trigger.
How do I position the front wheel chock for maximum stability?
Carefully position the wheel chock to match your motorcycle’s tire width and gently roll the front wheel into it until it sits snugly. Ensure the wheel is centered and aligned with the ramp to distribute weight evenly and avoid tipping during loading.
What steps should I take before unloading my motorcycle from the ramp?
Before unloading, inspect the ramp connections, check the wheel chock alignment, and ensure the motorcycle is vertical and stable. Clear the area of any obstacles and plan your unloading path for a controlled descent.
How can I improve my technique for loading and unloading my motorcycle?
Practice engaging with the ramp components, like the mechanical drive, with an unloaded ramp first to build experience. Familiarize yourself with the ramp assembly and maintain a slow, steady pace when loading and unloading to reduce the risk of sudden movements.
Recommended
- Why Use Loading Ramps for Safe Solo Motorcycle Transport – Alien Ramp
- Motorcycle Ramp Technology Explained: Safer Solo Loads – Alien Ramp
- Motorcycle Ramp Comparison for Pickup Trucks 2026 – Alien Ramp
- Alien Ramp
- PPF for Motorcycles: 2025 Guide for Installers & Detailers – AEONCUT PPF Pre-cut Cutting software